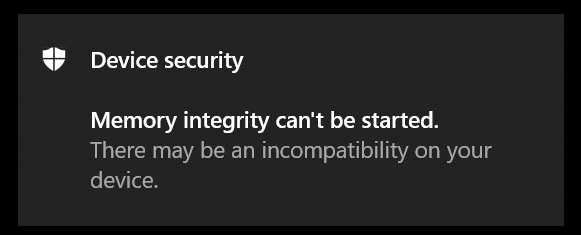
So you want to enable Windows 10’s security feature „Memory integrity“ which is part of „Core isolation“? But when you move the switch to „On“, you always get the error message „Memory integrity can’t be started. There may be an incompatibility on your device“?

Here is how to figure out what is incompatible on your device
- Download Microsoft’s official „Device Guard and Credential Guard hardware readiness tool“, which is basically a PowerShell script. Extract the downloaded zip file to a folder of your choice.
- Open PowerShell with „Run as administrator“ (admin privileges) and navigate to the folder with the extracted files.
- First we have to allow executing the script using this command:
Set-ExecutionPolicy Unrestricted - Execute the script using the „Capable“ parameter:
.\DG_Readiness_Tool_v3.6.ps1 -Capable - Now the script will install a special driver used to verify your hardware and installed drivers, but you have to restart the PC and come back to the script afterwards. So restart the PC now!
- Again, open PowerShell with „Run as administrator“.
- Again, execute Microsoft’s tool using the „Capable“ parameter:
.\DG_Readiness_Tool_v3.6.ps1 -Capable
Now the script should execute the scan using the special driver, thus checking your hardware and drivers for compatibility.
You will get a colored log directly in PowerShell and also a log file stored on your disk, the location is:C:\DGLogs\DeviceGuardCheckLog.txt
Check for yellow and red lines in the log and if your are especially interested in incompatible drivers, then look for a messageIncompatible HVCI Kernel Driver Modules found
Incompatible drivers should be listed below that message. - So now that you have your log file, let’s clean up the system again (i.e. remove the special driver that was installed by the script).
Execute Microsoft’s tool using the „Clear“ parameter:.\DG_Readiness_Tool_v3.6.ps1 -Clear - Restart the PC to get the special driver uninstalled.
- Again, open PowerShell with „Run as administrator“.
- Now we also restore the default safe script execution policy using this command in PowerShell:
Set-ExecutionPolicy Restricted - Done!
Schreibe einen Kommentar